

HOW TO: Remove sharp corners from a pocket flashlight
Sometimes sharp corners on a flashlight can be a problem. Luckily enough, is quite easy to get rid of them cleanly. Here how to remove sharp corners from a pocket flashlight.

HOW TO: Remove sharp corners from a pocket flashlight

The head of the flashlight has properly beveled corners which do not harm clothing

The end cap, prior to filing, shows its sharp, knurled edge

I've been carrying my Olight H1R Nova, a great pocket flashlight for years now. It's extremely compact, powerful, with several settings which are both useful and easy to access, and the magnetic base is an added bonus. My only complaint? I usually carry the tiny flashlight in my jeans' lighter pocket, and its knurled endcap cuts through fabric like a buzzsaw.
I finally decided to put an end to the slaughter and remove any sharp corners from the cap.
This is very easy to do and doesn't require any particular equipment (no little flashlight got hurt in the process, even if mine is a little bit banged up and scuffed after having been dropped on various kinds of floor, bumped into metal parts and such).
TOOLS
You need no other tools than a small, fine-grained modeling file and, if you want to go the extra mile, some 800 to 1,000 grained sandpaper.
Most flashlight bodies are made of aircraft grade aluminum alloy, so no diamond file is needed for this job.
Before working on the flashlight, though, remove any batteries as a measure of extra caution. Lithium batteries don't like short circuits and since you will be producing some fine metal dust, better to stay on the safe side.
LET'S DO IT
All you need then is just to file off the sharp perimetral corner (from the bottom cap, in this case) and make the knurling smooth out towards the end of the cap. Several light passes give better control on the end result than going down hamfisted. Remember also that aluminum alloy is quite soft and a little pressure will remove far more metal than with, say, steel.
Since anodizing protects the metal against alkaline corrosion (which aluminum fears as much as steel fears rust) a well polished finish will help protect the metal. Use the fine grained sandpaper with a couple drops of water to polish the metal to a fine shine.
This is an interesting lesson for manufacturers: how a very small detail like this can be a big problem in an otherwise great tool. Luckily enough it's been easily solved: since the end cap edge has been smoothed out, the problem is completely gone.
FINISHING THE JOB
If you like the "worn" look of your flashlight (I like mine with all the dings and scuff marks and scratches it acquired in years of honored service), leave it as it is: with the "white" metal exposed after the filing and polishing process.
But if you instead want to preserve an "as new" look for your favourite flashlight, then you may use some commecial product to finish the job properly.
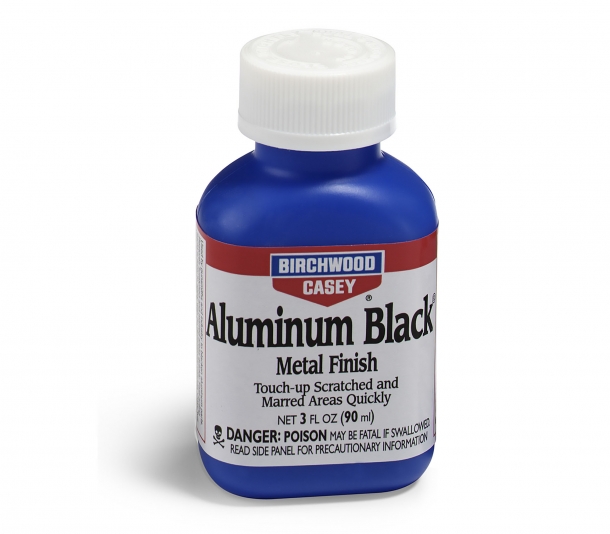
As for example Aluminum Black Touch Up from Birchwood Casey: it's easy to use and provides a quite effective black finish. Just follow the instruction on the bottle. Only, remember that a black touch up is not like hard anodizing.